
Starting solids is such an exciting milestone, and pear is one of the gentlest, sweetest foods you can offer your little one. If you’ve been wondering how to prepare pear for baby, you’re in the right place. Pears are soft, naturally sweet, and easy on tiny tummies, which makes them a favorite first food for so many families.
In this guide, we’ll walk through everything you need to know. From the health benefits and the best age to start, to step-by-step prep, serving ideas by age, storage tips, and safety advice. Take a deep breath. You’ve got this.
Benefits of Pear for Babies
Pears are a little nutritional powerhouse wrapped in a sweet, juicy package. They’re rich in fiber, which helps keep your baby’s digestion moving smoothly. This is especially handy if your little one tends to get a bit constipated when starting solids.
They also contain vitamin C, which supports a healthy immune system, and small amounts of vitamin K and potassium. These nutrients help with everything from growing strong to healing tiny scrapes.
One of the best things about pears is their natural sweetness. Babies are born loving sweet flavors, so pear is often an easy “yes” at the high chair. And because that sweetness comes from real fruit, there’s no need to add sugar or anything extra.
Pears are also gentle on the stomach and rarely cause tummy trouble. That makes them a reassuring choice when you’re still learning how your baby reacts to new foods.
When Can Babies Start Eating Pear
Most babies are ready to start solids around 6 months of age. By this point, they can usually sit up with support, hold their head steady, and show interest in what you’re eating.
Pear is a wonderful first food because it’s smooth, mild, and easy to digest. You can offer it as a single-ingredient puree or, if you’re trying baby-led weaning, as a soft cooked or ripe spear.
If your baby was born early or has any health concerns, check with your pediatrician about the right time to begin. Otherwise, pear is a safe and gentle choice from the very start of the weaning journey.
What You’ll Need
The good news is you don’t need fancy equipment to prepare pear for baby. A few simple kitchen tools will do the trick.
Ingredients:
- 1–2 ripe pears (Bartlett, Anjou, or Williams work beautifully)
- A splash of water or breast milk/formula (optional, for thinning)
Equipment:
- A vegetable peeler
- A sharp knife and cutting board
- A steamer basket or small saucepan
- A blender, food processor, or hand masher
- Ice cube trays or small freezer containers for storage
That’s it. Most of these are likely already in your kitchen, which makes pear one of the easiest foods to start with.
5 Step-by-Step Preparation Guide on How to Prepare Pear for Baby
Here’s a simple method to turn a fresh pear into a smooth, baby-friendly meal. Follow these steps and you’ll have a batch ready in no time.
Step 1: Wash the Pear
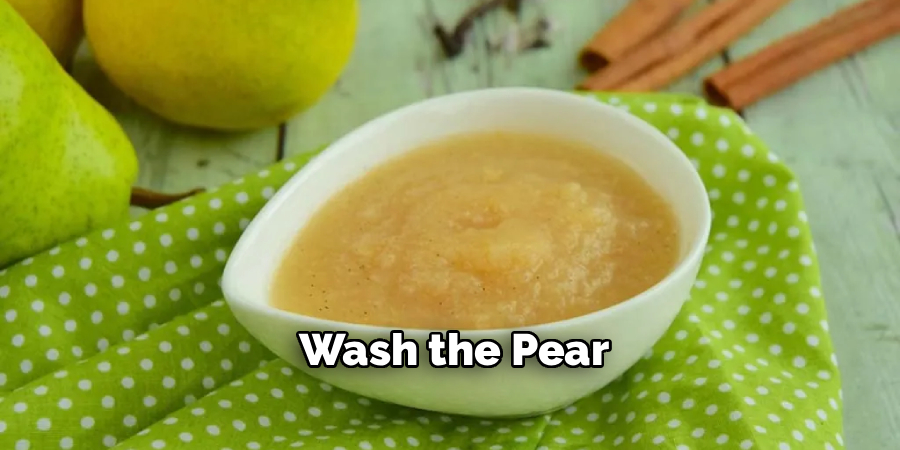
Rinse the pear well under cool running water. Even if you’re peeling it, washing first helps remove any dirt or residue from the skin.
Step 2: Peel and Core
Use a peeler to remove the skin, which can be tough for babies to manage. Slice the pear in half, remove the core and seeds, then cut it into small chunks.
Step 3: Cook It (or Not)
If your pear is very ripe and soft, you can often skip cooking and simply puree or mash it raw. For firmer pears, cooking softens them and makes them easier to digest.
- Steaming: Place the chunks in a steamer basket over boiling water for about 5–7 minutes, until fork-tender.
- Boiling: Simmer the chunks in a little water for 5–7 minutes, then drain (save the liquid for thinning).
- Baking: Place halves in a dish with a splash of water and bake at 375°F for about 20–25 minutes until soft.
Step 4: Blend or Mash
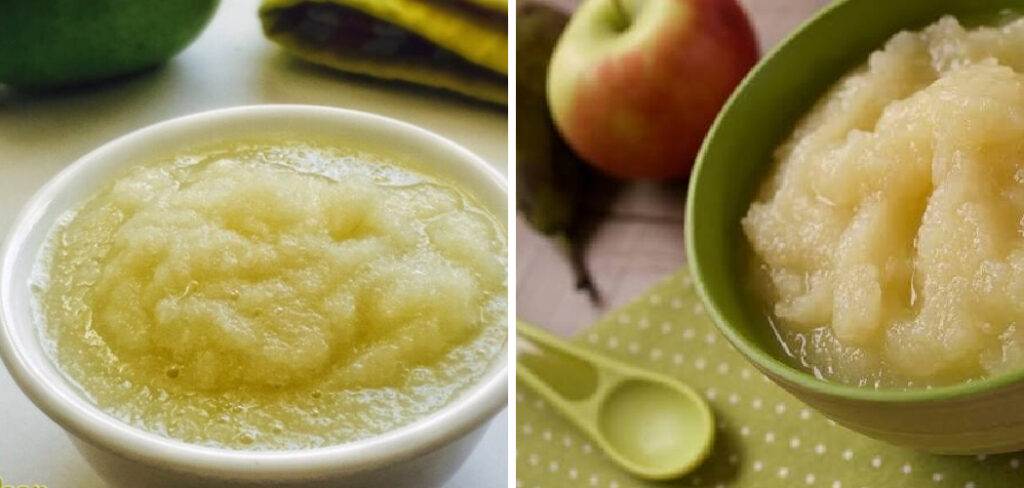
Transfer the cooked pear to a blender and puree until smooth. Add a little water, breast milk, or formula to reach the texture you want. For older babies, simply mash with a fork instead.
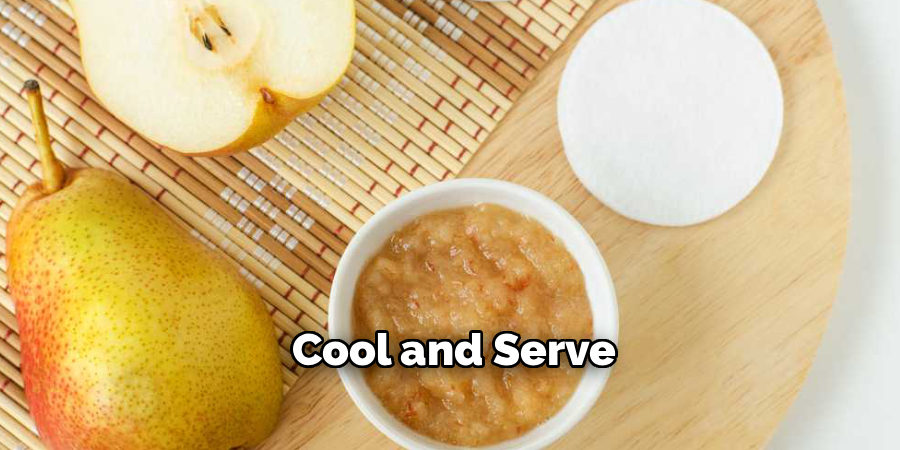
Step 5: Cool and Serve
Let the puree cool to a safe temperature before serving. Always test it on the inside of your wrist first so it’s just warm, never hot.
How to Serve Pear by Age and Stage
As your baby grows, their ability to handle different textures changes too. Adjusting the texture keeps mealtimes safe and helps build chewing skills.
6+ Months: Smooth Puree
Start with a thin, silky puree. You can mix in a little breast milk or formula for a familiar taste and easy swallowing.
8+ Months: Mashed with Soft Lumps
Now you can thicken things up. Mash the pear with a fork, leaving small soft lumps for your baby to practice moving food around their mouth.
9–12+ Months: Soft Finger Foods
Offer soft cooked pear chunks or thick spears your baby can grab. Ripe raw pear can be served in soft, manageable pieces too. Always stay close and supervise during finger food time.
Storage and Freezing Tips
Making a batch ahead of time is a huge time-saver, and pear stores wonderfully. Here’s how to keep it fresh and safe.
In the fridge: Store pear puree in an airtight container for up to 3 days. Give it a sniff and a stir before serving.
In the freezer: Spoon puree into ice cube trays and freeze. Once solid, pop the cubes into a labeled freezer bag. They’ll keep well for up to 3 months.
Reheating: Thaw a cube in the fridge overnight or warm it gently on the stove. Stir well and check the temperature before serving. Never refreeze pear that’s already been thawed.
A little tip: pear can brown when exposed to air, but this is harmless. A squeeze of lemon or quick cooking helps keep the color bright if you prefer.
Common Mistakes to Avoid
Even simple foods come with a few easy-to-miss pitfalls. Here are the most common ones so you can sidestep them.
1. Adding sugar or honey. Pears are already sweet, so there’s no need for extras. Honey, in particular, should never be given to babies under 12 months due to the risk of infant botulism, a serious illness.
2. Serving large, hard chunks too early. Firm pear pieces can be a choking hazard. Always cook or choose very ripe fruit, and match the texture to your baby’s stage.
3. Skipping the peel removal. Pear skin is tricky for little mouths to break down. Peel it for younger babies to keep things smooth and safe.
4. Making too much at once. Fresh purees don’t last forever. Freeze extra portions rather than letting them spoil in the fridge.
5. Serving it too hot. Reheated puree can have hot spots. Always stir and test before offering it.
Allergy Information and Safety Tips
Here’s some reassuring news: pears are considered a low-allergy food and are rarely linked to reactions. That’s a big part of why they’re such a popular first food.
Still, whenever you introduce any new food, it’s smart to watch for signs of an allergy. These can include hives, swelling, vomiting, or unusual fussiness. Introducing one new food at a time over a few days makes it easier to spot what’s causing a reaction, if any.
When it comes to choking, texture is everything. Always serve pear in a form that matches your baby’s stage, whether that’s a smooth puree or soft, gummable pieces. Avoid hard, raw chunks for younger babies, and never leave your little one alone while eating.
Sitting your baby upright in their high chair also helps them swallow safely. Knowing these simple steps can give you real peace of mind.
Signs Your Baby Is Ready and Enjoying It
Watching your baby explore new foods is one of the sweetest parts of this stage. So how do you know things are going well?
You’ll likely notice your baby opening their mouth for the spoon, swallowing without too much fuss, and reaching for more. Some babies make happy little sounds or kick their legs in excitement.
It’s also completely normal for babies to make funny faces at first. A scrunched nose doesn’t always mean they dislike it. They’re simply figuring out new tastes and textures.
If there’s no rash, no tummy upset, and your baby seems content, that’s a great sign the pear is agreeing with them. Trust those small cues. You’re learning your baby’s signals beautifully.
When to Call a Doctor
Most of the time, introducing pear is smooth sailing. But it’s good to know the warning signs that need medical attention.
Call your doctor right away if your baby develops a rash, swelling of the lips or face, difficulty breathing, or repeated vomiting after eating. These could be signs of an allergic reaction.
Seek emergency help immediately if your baby seems to be choking, can’t breathe, or turns blue. Knowing infant first aid can be a real comfort here, so consider taking a quick class if you haven’t already.
For ongoing issues like persistent constipation, diarrhea, or unusual fussiness around feeding, check in with your pediatrician. They’re there to help, and no question is too small.
Frequently Asked Questions
Can I give my baby raw pear?
Yes, if it’s very ripe and soft. For younger babies, a smooth raw puree works well. For older babies, soft raw pieces are fine, but always supervise and skip firm, unripe fruit.
Do I need to cook pear before serving?
Not always. Ripe pears are soft enough to puree or mash raw. Cooking is helpful for firmer pears, as it softens them and makes digestion a little easier for newer eaters.
Does pear help with baby constipation?
It often does. Pears contain fiber and sorbitol, which can gently help things move along. Many parents find pear puree useful when their little one is a bit backed up.
What’s the best type of pear for babies?
Soft, sweet varieties like Bartlett, Anjou, or Williams are great choices. Look for pears that yield slightly when pressed near the stem, a sign they’re nice and ripe.
Can I mix pear with other foods?
Absolutely. Pear pairs beautifully with apple, banana, oats, or even a little cinnamon for older babies. Just introduce each new ingredient on its own first to watch for reactions.
Conclusion
Learning how to prepare pear for baby is one of the simplest and most rewarding steps in your weaning adventure. With its gentle sweetness, easy prep, and tummy-friendly benefits, pear is a wonderful way to introduce your little one to the world of solid foods.
Remember, every baby moves at their own pace, and a few funny faces or messy moments are all part of the fun. Trust yourself, take it slow, and enjoy these precious first bites. You’re doing a wonderful job, and your baby is lucky to have you.

About
Joann Meril didn’t plan on becoming a parenting writer — it found her. After spending several years working as a certified nursing assistant in a pediatric clinic, Joann saw firsthand how anxious and under-informed new parents could feel, even with a hospital full of resources around them. When she had her own two children, that gap became personal. Suddenly she was the one googling things at 2 a.m., comparing baby monitors, and wondering if the swaddle she bought was actually safe.
That experience is what shaped her approach to writing. Joann believes parenting advice should be practical, honest, and free of unnecessary jargon or guilt. She tests products herself whenever possible, reads the actual safety standards instead of just the marketing copy, and isn’t afraid to say when something isn’t worth the money.
Today, Joann writes full-time, covering everything from newborn sleep routines to gear reviews to the small everyday wins that make parenting feel a little less overwhelming. When she’s not researching or writing, she’s usually chasing her own kids around the backyard or drinking coffee that’s gone cold for the third time that morning.
Joann lives in [City/State] with her husband and two children.
Credibility
- Background in pediatric caregiving (CNA)
- Mom of two, hands-on parenting experience
- Hand-tests baby gear before recommending it
- Focus: infant sleep, feeding, gear safety, early development